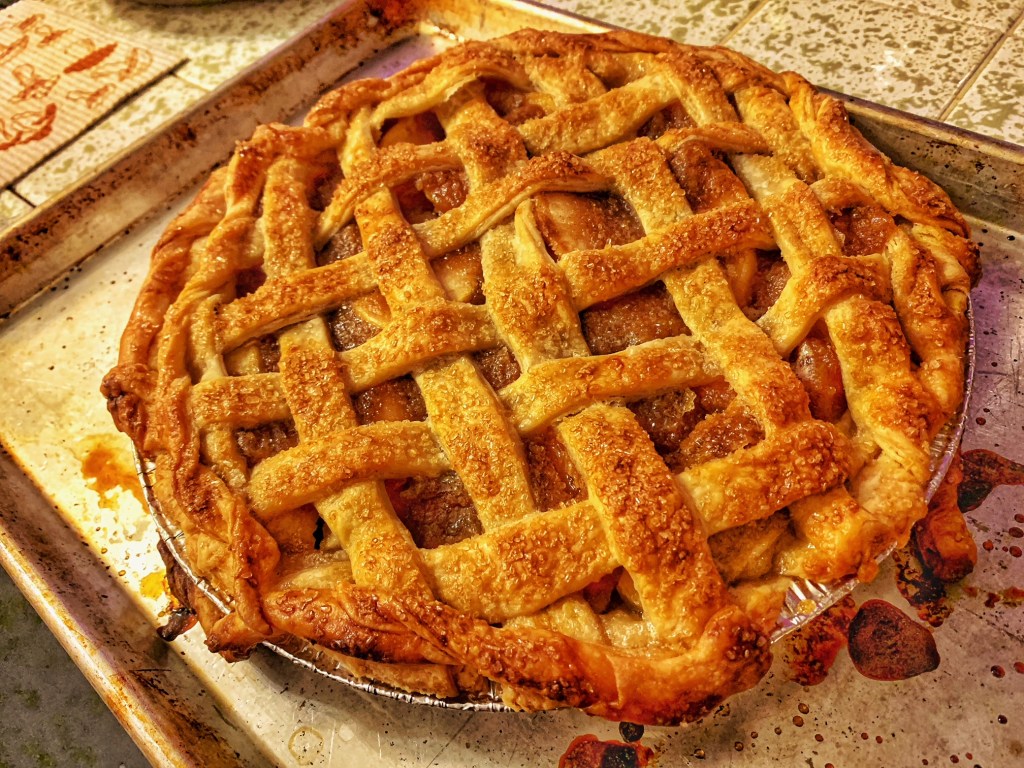
I made caramel apple pie on the day after Thanksgiving and while it tasted good, it was soupy. As in, I could hold back the pie and pour out about a cup’s worth of liquid. This brings me to this point: the person who invented the saying “easy as pie” probably have never made pie. Or maybe it’s just me. Pie has been my weakness, my vulnerable area, my achilles heel, my Mount Everest (dun-dun-dun!). This is why the title of this post is followed with “Attempt #2.” I took tips from several different sources and combined them here to see if it will help the soupiness.
Ingredients for crust:
- 1 cup (2 standard sticks) unsalted butter, cold
- 2-2.5 cups all-purpose flour
- 0.5 teaspoon salt
- 2 tablespoon sugar
- 0.5-0.75 cup ice water
Directions for crust:
- In a large bowl, mix 2 cups of flour, salt, and sugar. Stir with your hand just until everything is combined. Cut up each stick of butter into about 8 equal cubes and put them into the flour mixture. With your fingers, flatten and rub each butter cube with the flour. If they break apart, that’s totally fine. We’re aiming for uneven chunks of butter throughout the dough.
- Pour about 0.25 cups of ice water and start mixing/kneading the dough. Pour in a couple tablespoons at a time while continuing to mix with your hands until the dough comes together. At this point, do not knead anymore.
- Divide the dough into two parts. One should be slightly bigger than the other as that will serve as the bottom crust. Remember: bigger bottom is better. 😉 Wrap each dough ball in plastic wrap and refrigerate for 4 hours or better yet, overnight.
Ingredients for filling:
- 0.5 cup (1 stick) unsalted butter, divided to: 2 tablespoons and 6 tablespoons
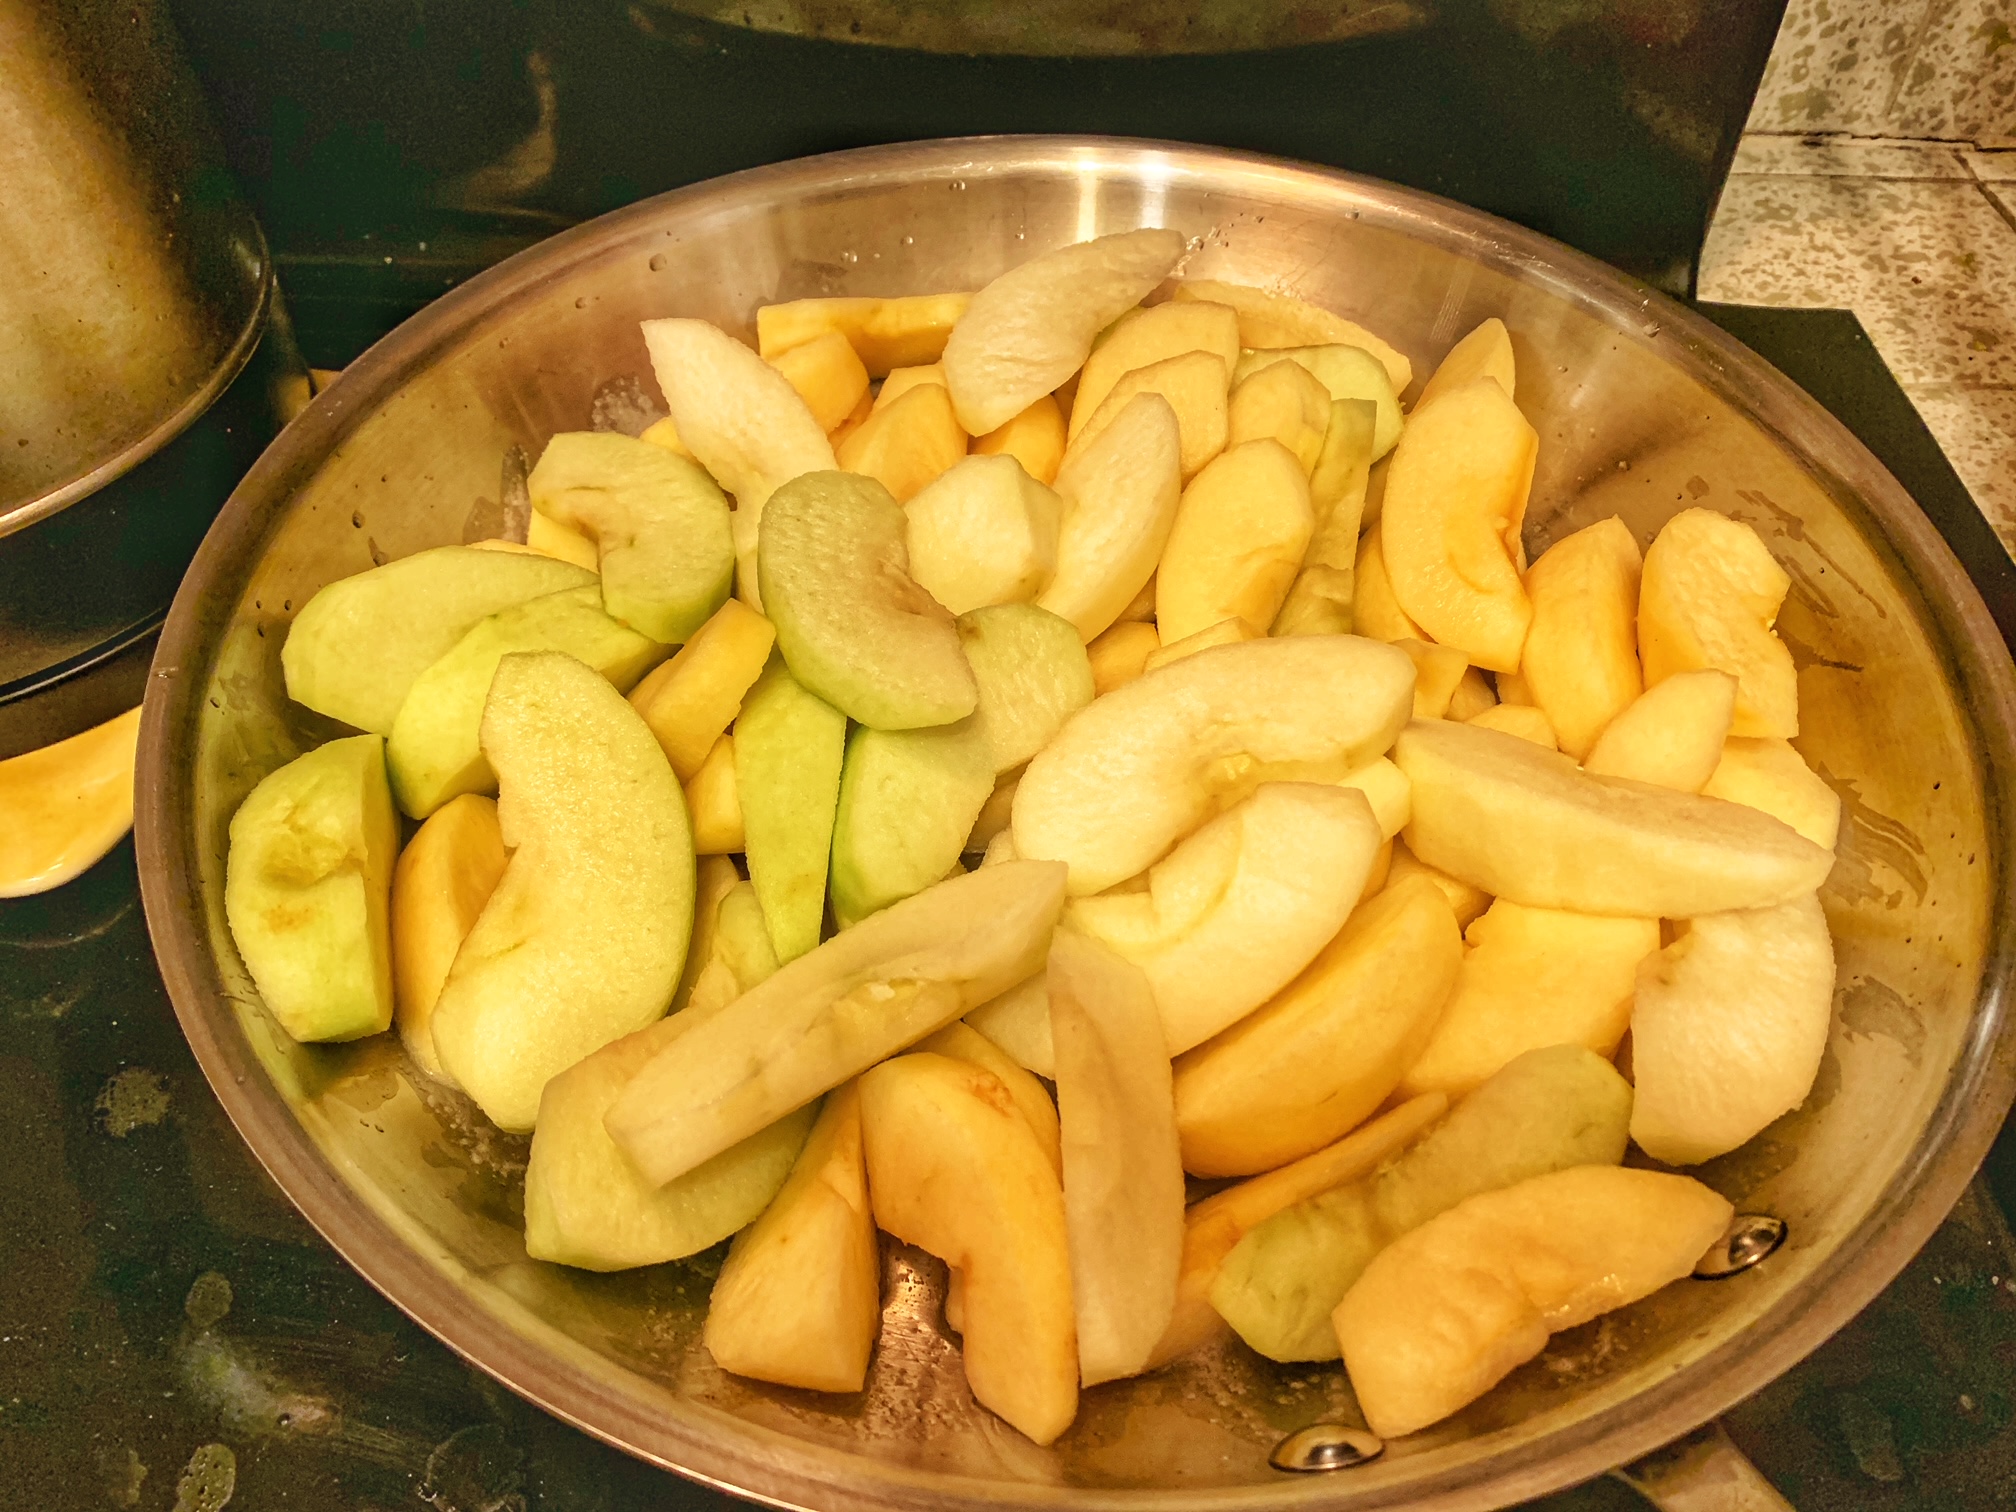
- 5-6 apples (if your apples are on the smaller side, get 6), peeled, cored, and sliced into 12 wedges. Don’t slice any thinner than that. I also use a mix of Granny Smith and other kinds. Tbh I don’t remember the other kinds because they just showed up at my door. Another story for another time
- 3 tablespoon all-purpose flour
- 0.25 cup water
- 0.5 cup brown sugar
- 0.5 cup white sugar
- 0.5 teaspoon salt
- 0.25-0.5 teaspoon ground cinnamon (0.5 teaspoon if you like it more cinnamon-y)

Directions for filling and assembly:
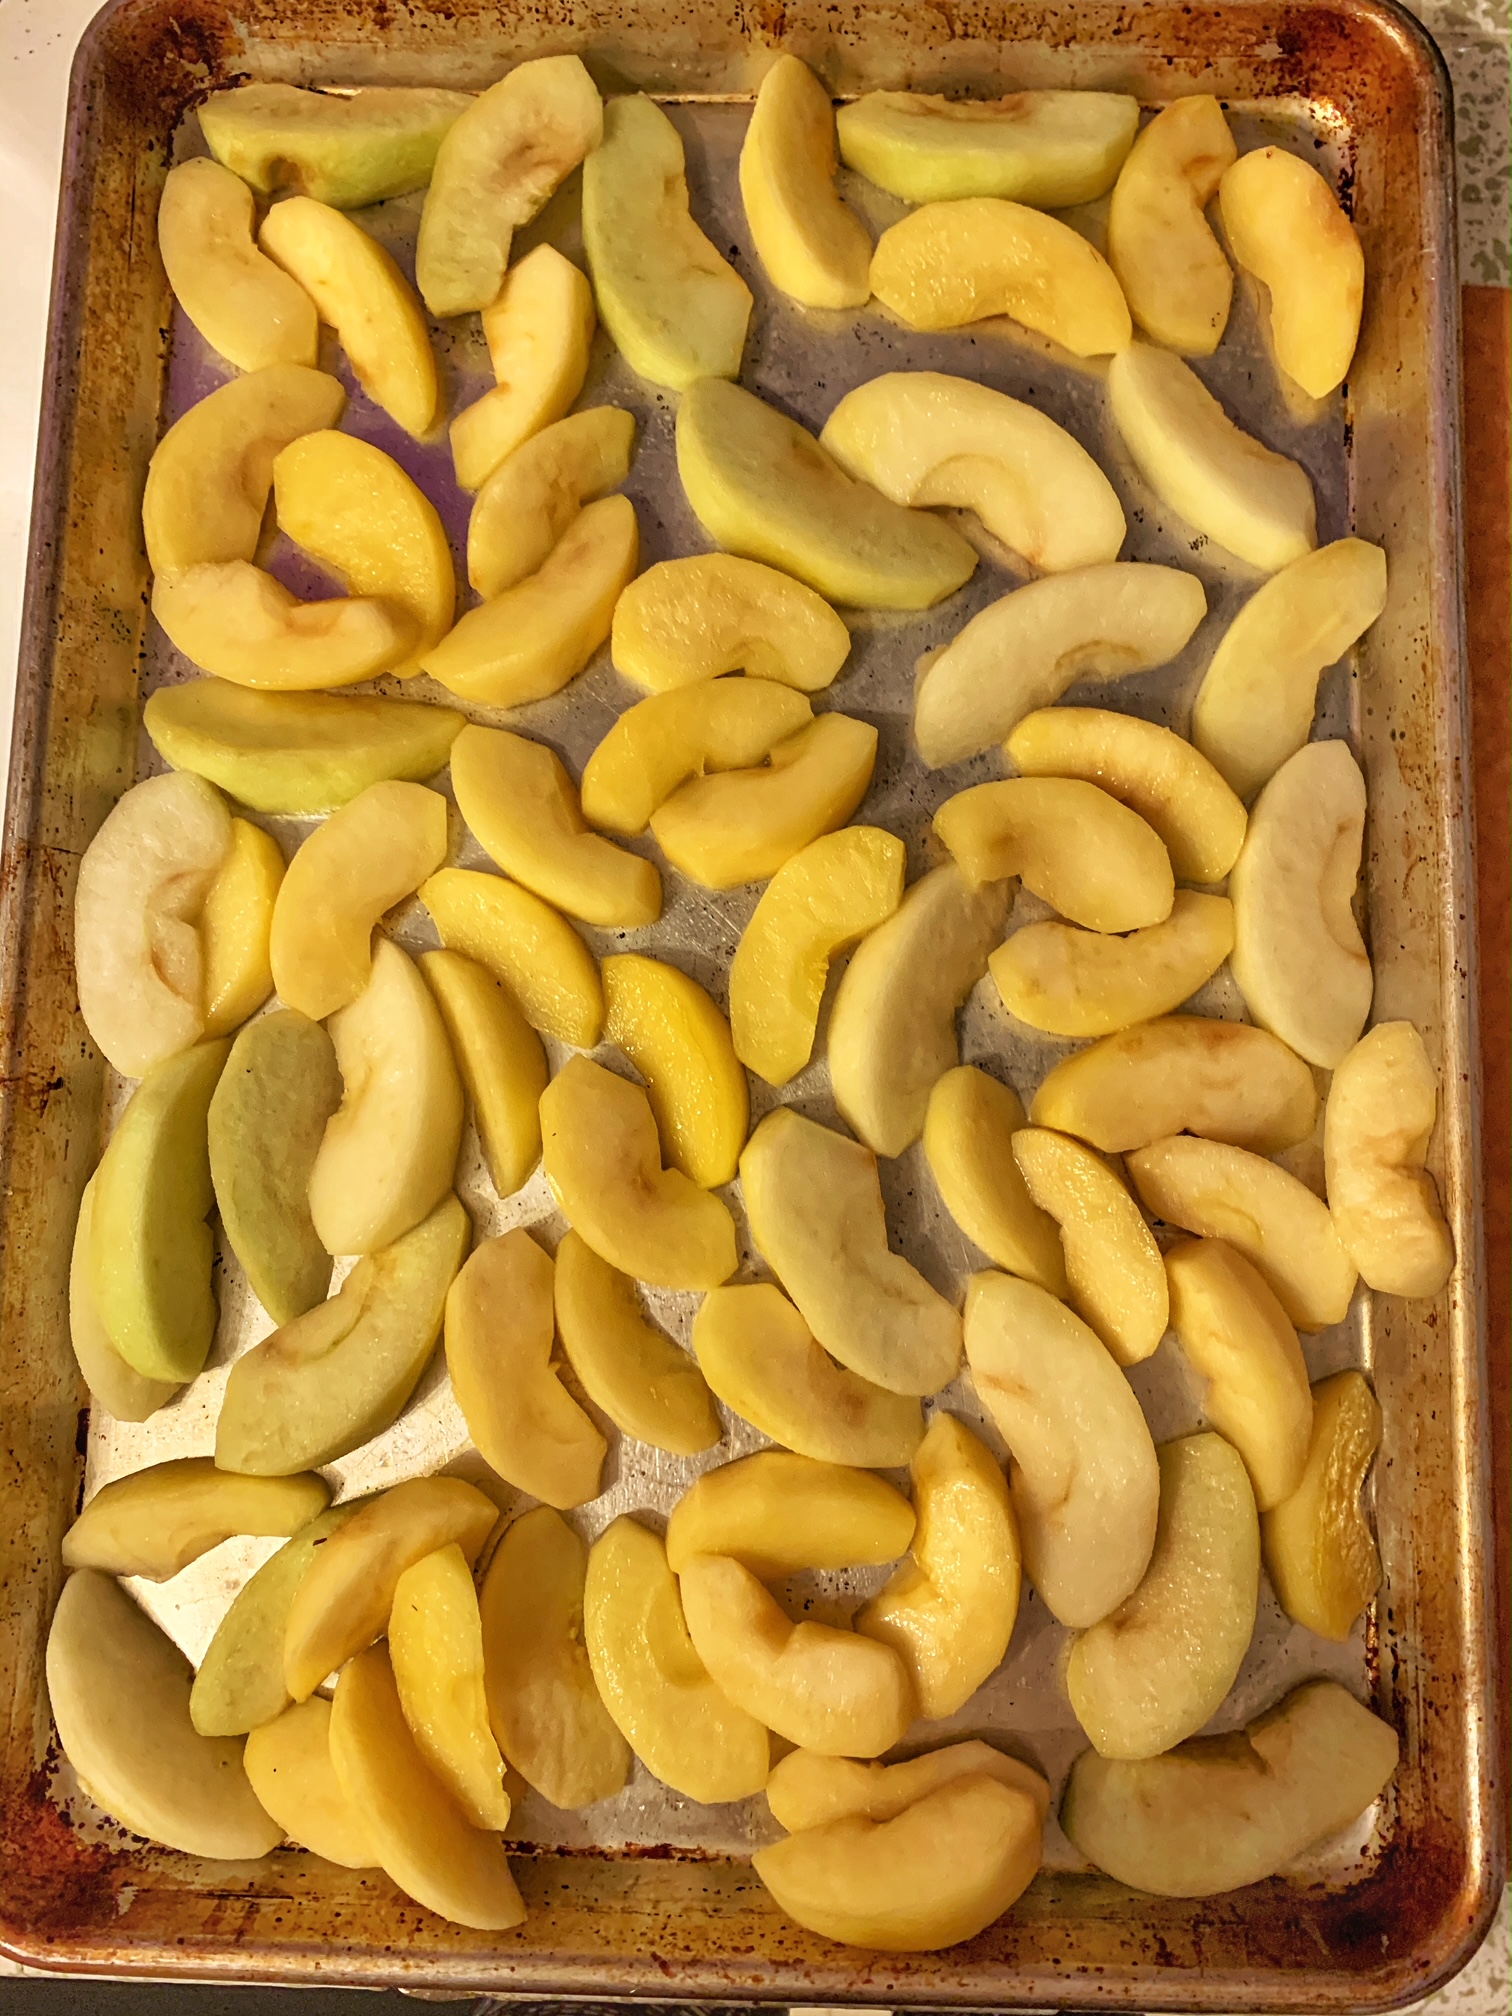
- In a large saute pan over medium heat, heat up 2 tablespoons of butter until melted and foamy. Put in the apple sliced and cook for about 8-10 minutes while stirring constantly so that all the apple pieces are cooked evenly. You want to get the apples juuust slightly softened but still holding their shape. If you’re using solely granny smith apples, you will likely need to cook them a little while longer because granny smiths are sturdier than most. Take the apples off the heat and lay them in a single layer on a sheet pan so that they will cook down faster.
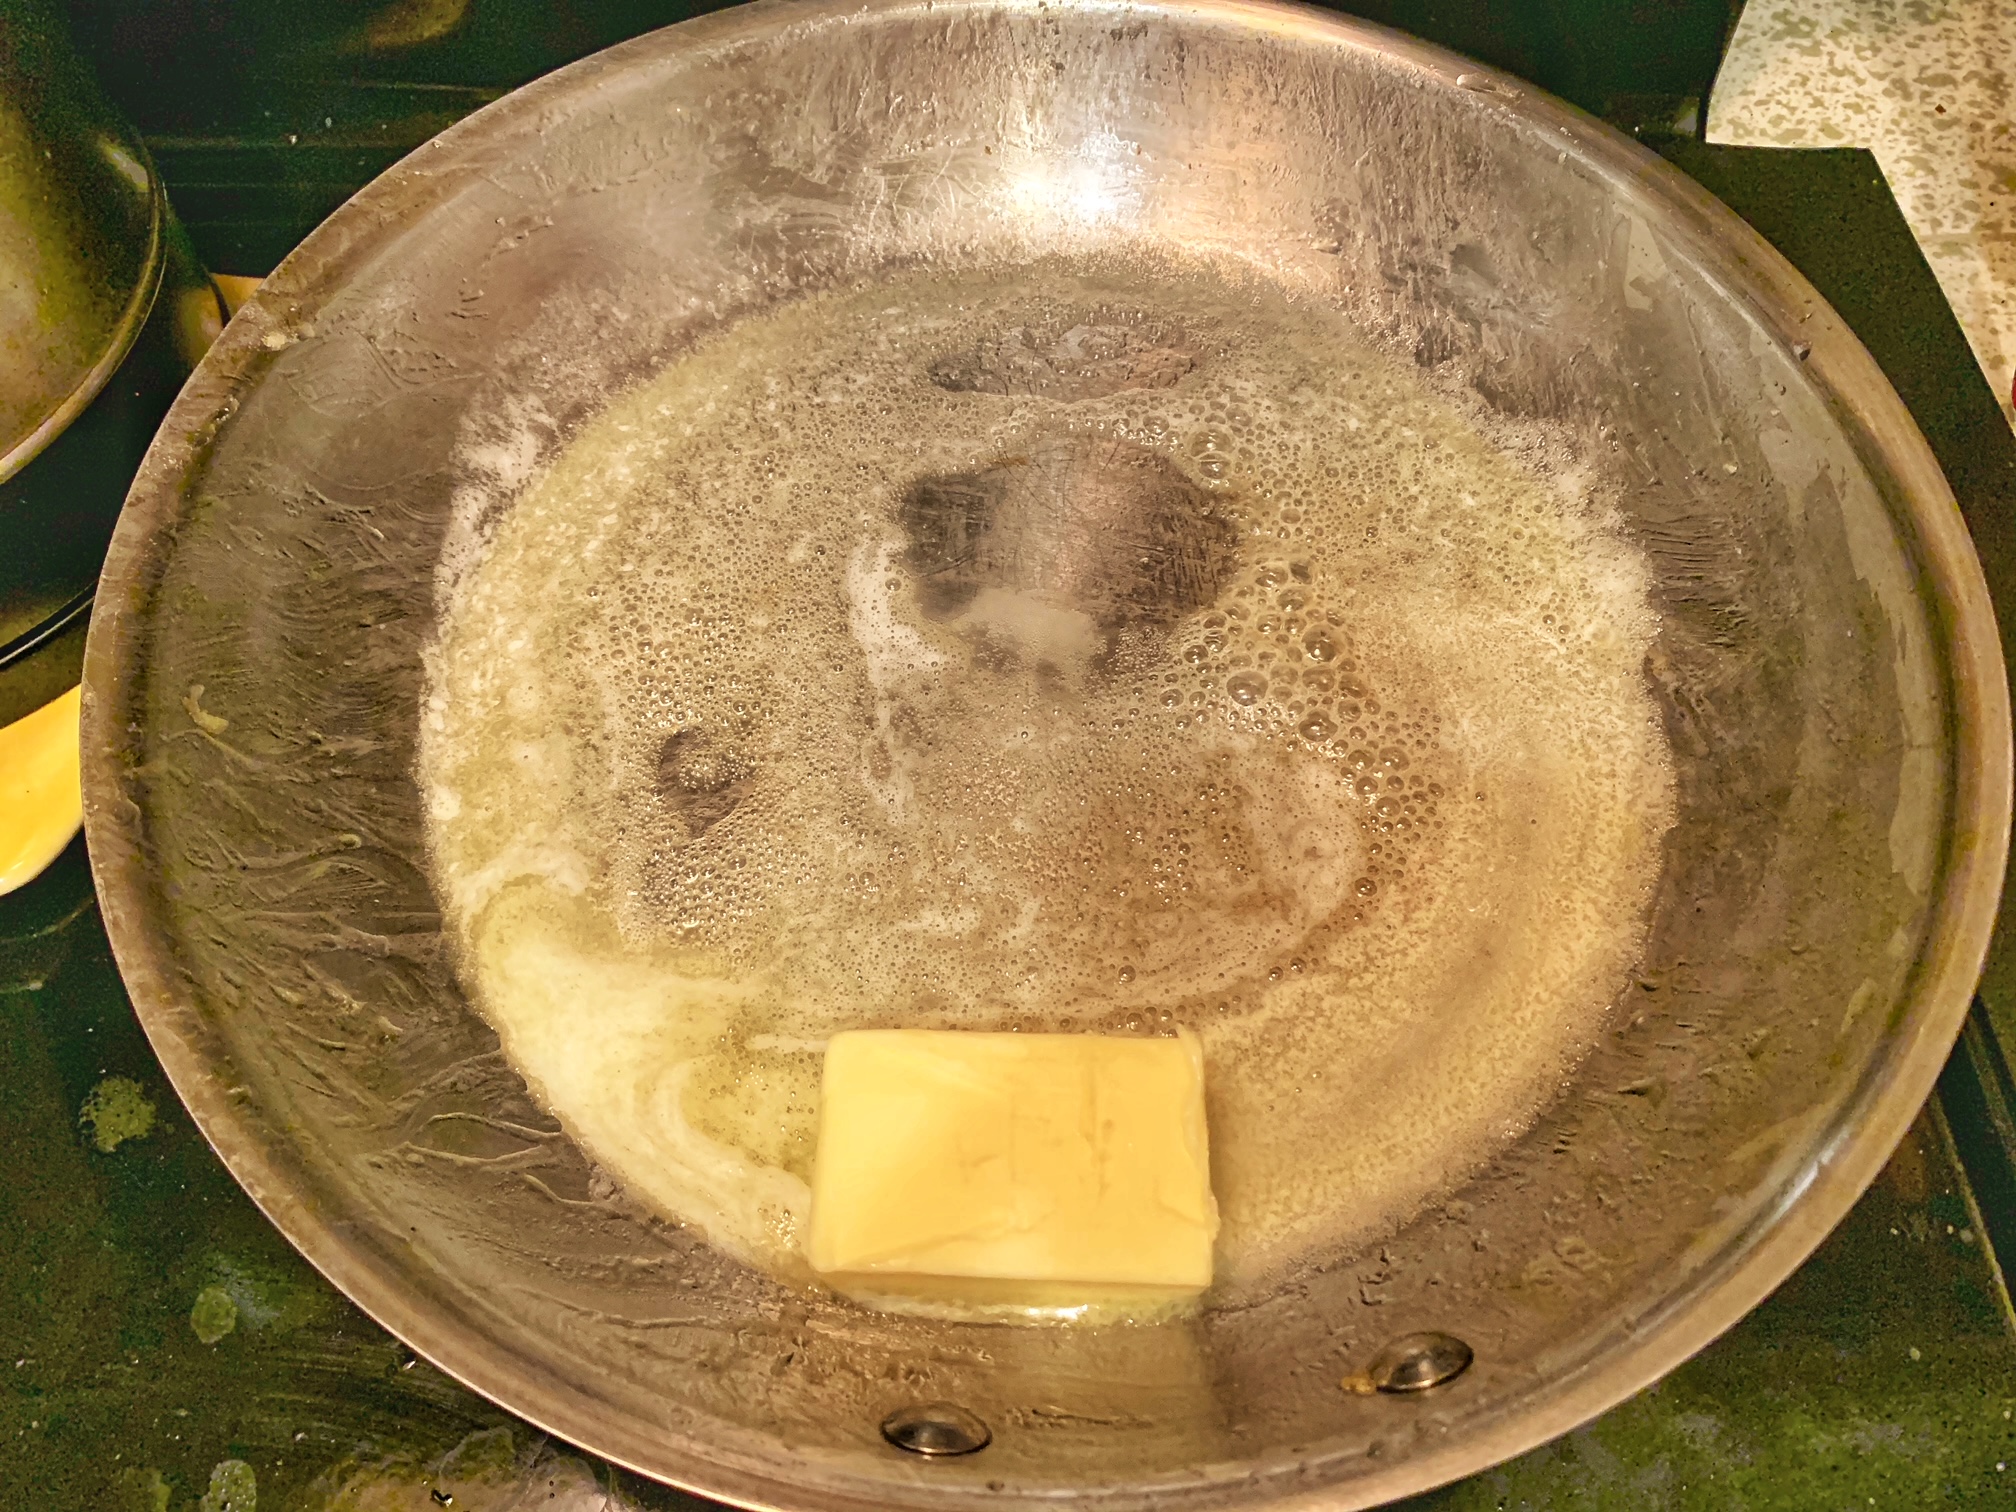
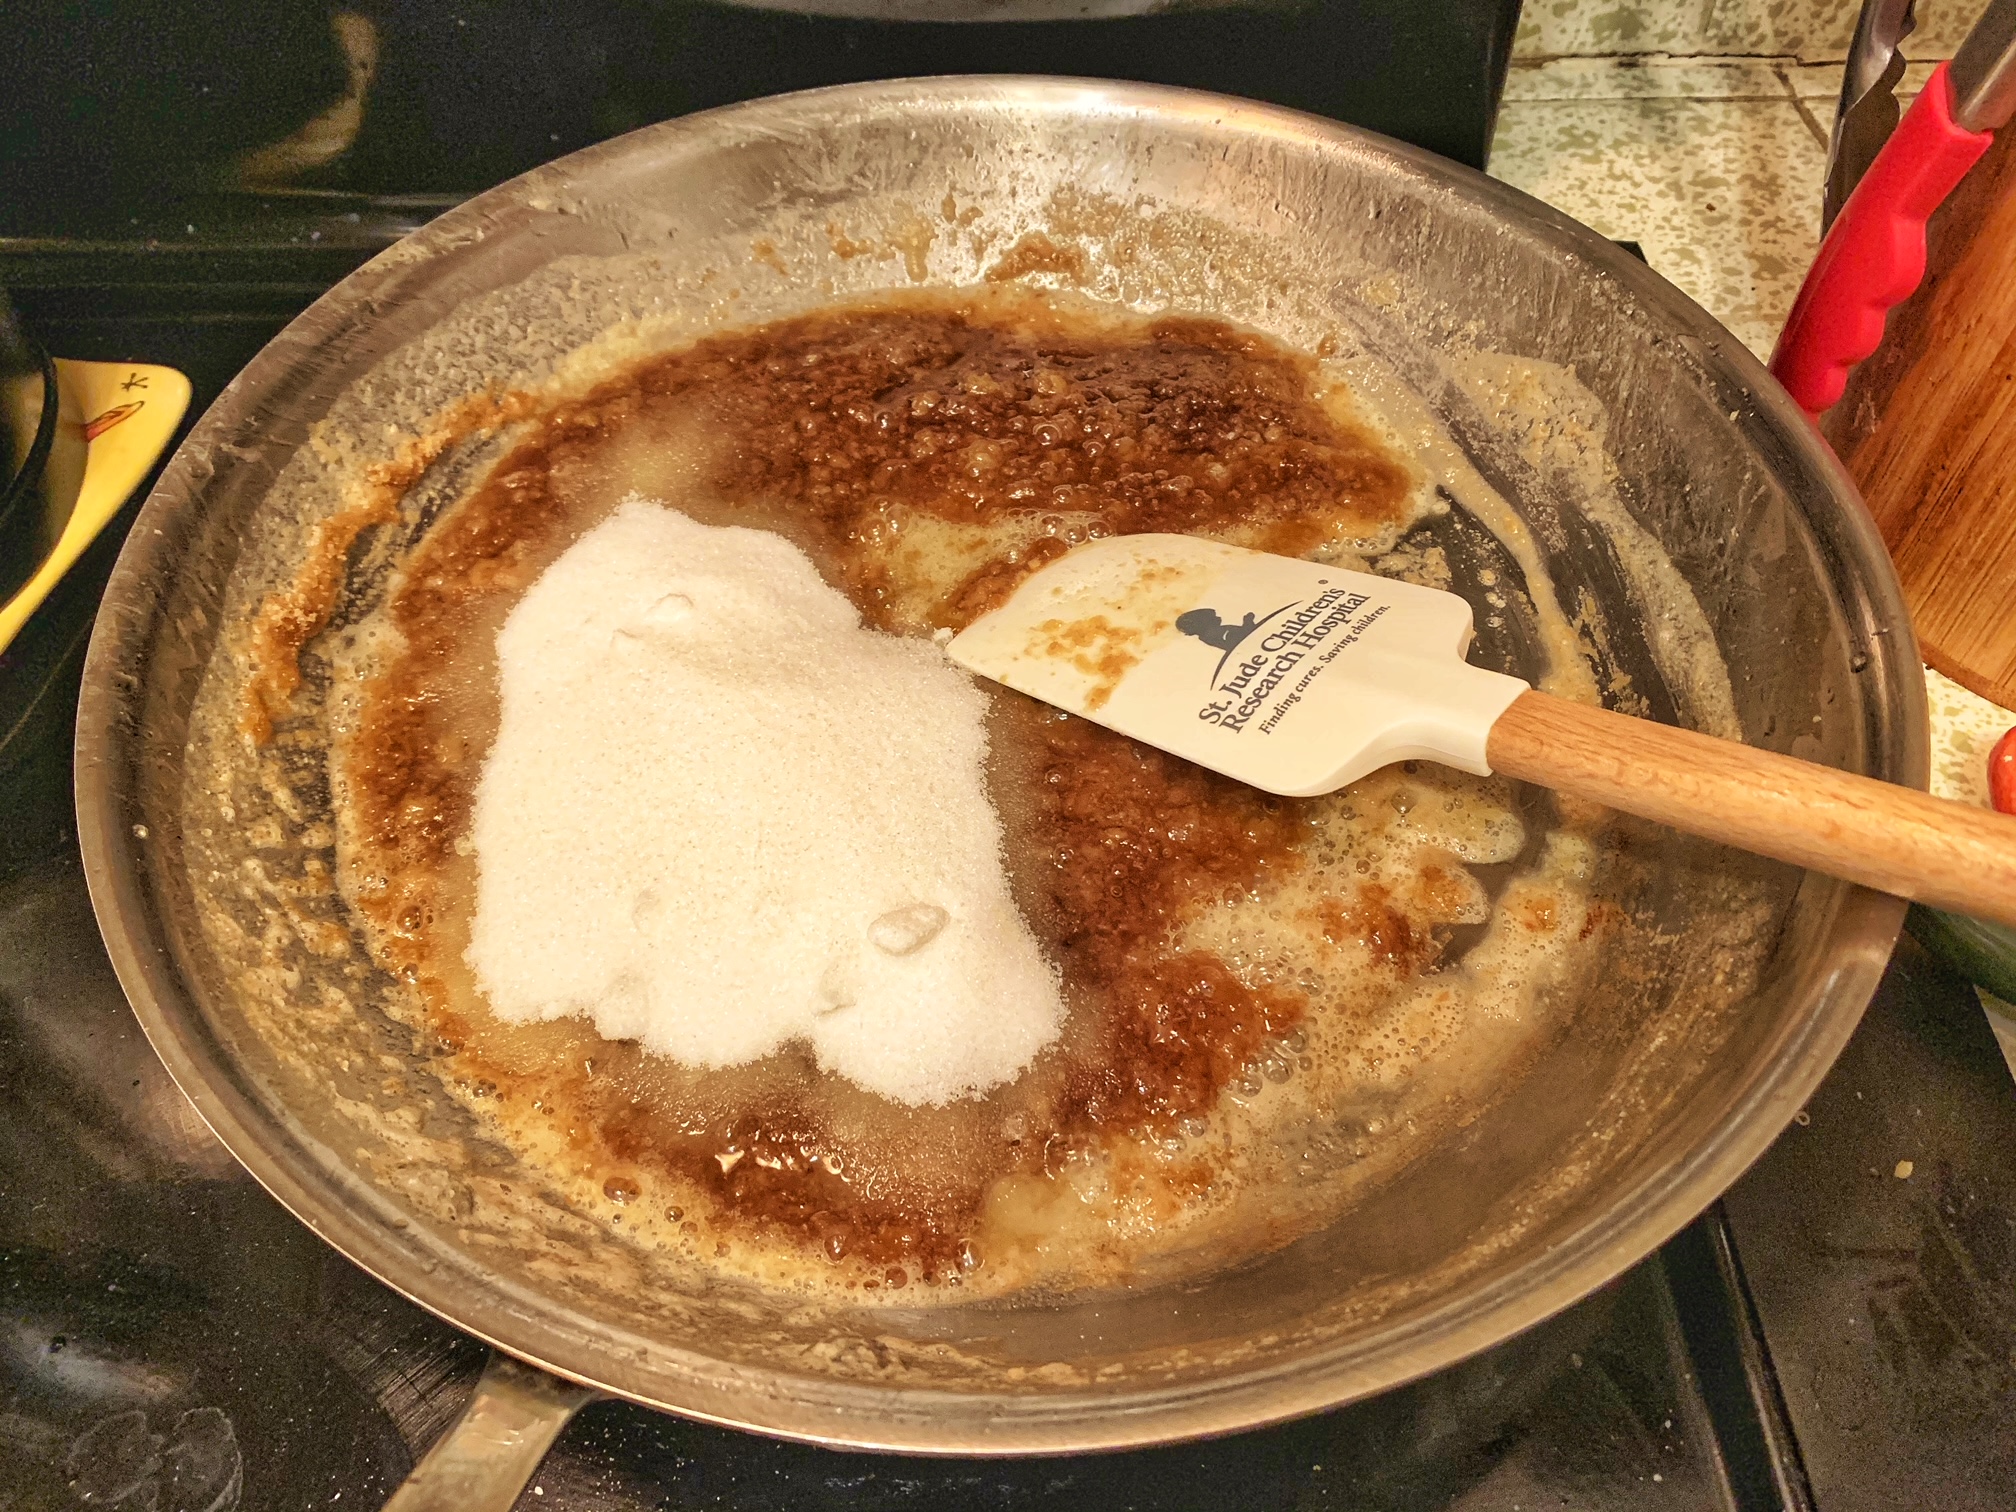
- Return the saute pan to medium-low heat and put in the remaining 6 tablespoons of butter to melt. Once the butter is completely melted, put in the all-purpose flour and stir until they are mixed well. Continue to cook for 30 seconds while stirring constantly. Pour in the water and stir until you get a mixture that looks kind of like elmer’s glue, consistency-wise. Color-wise, it should be blonde like Chris Hemsworth’s hair.

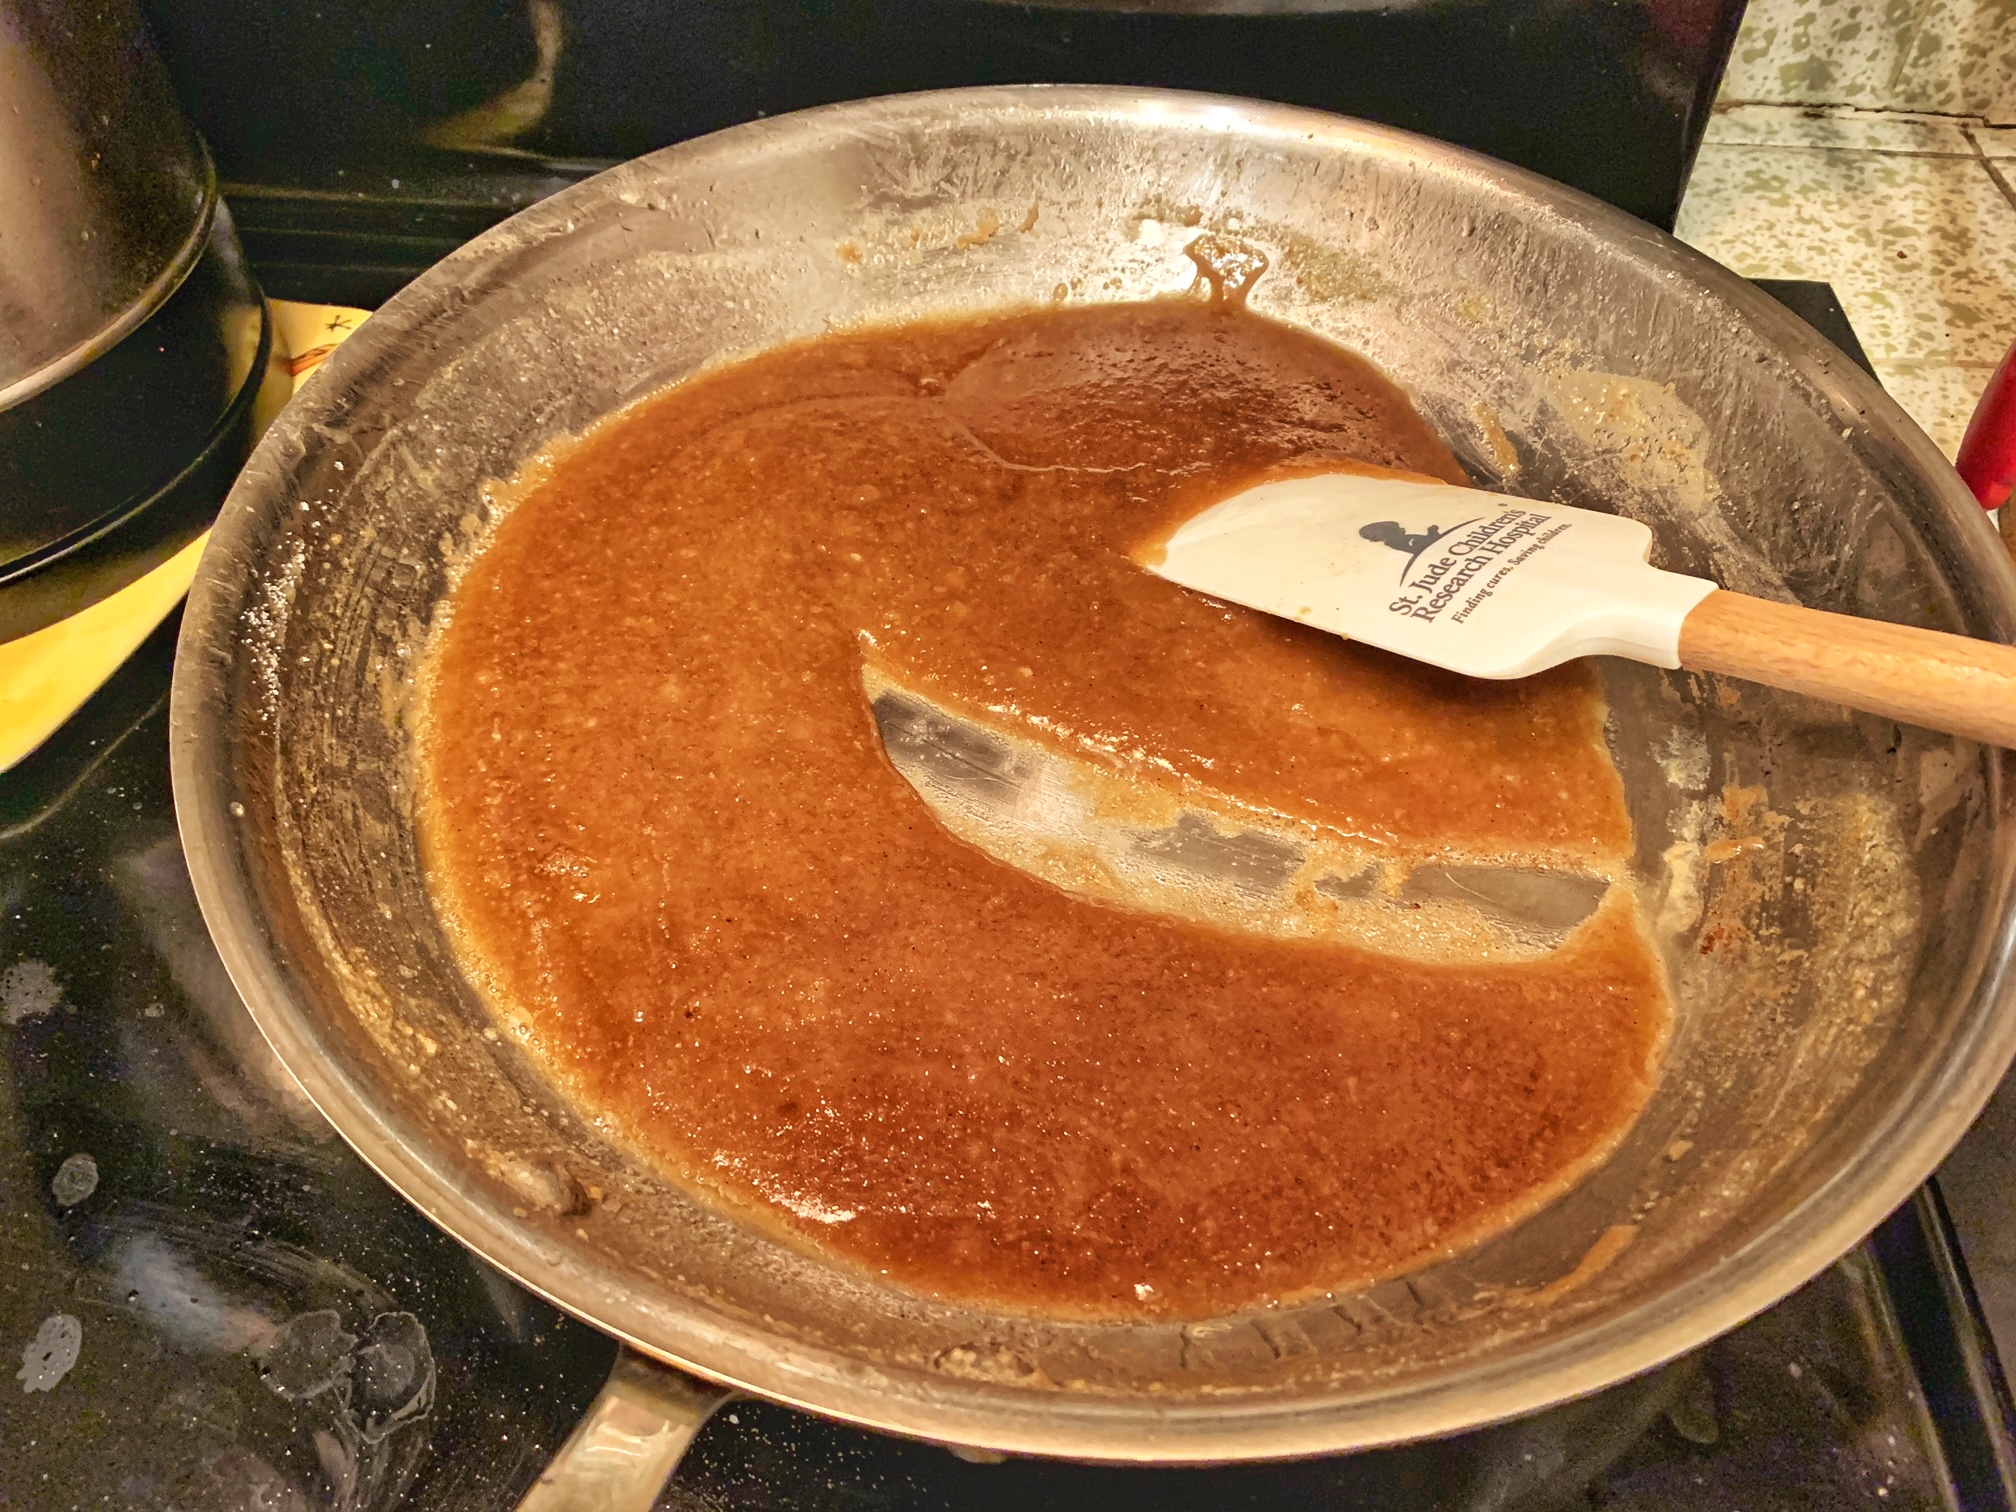
- Put in brown sugar, white sugar, salt, and cinnamon. Stir to combine. Lower the heat to low and cook for another minute or two just until everything comes together into a cohesive mixture. Turn off the heat and let the mixture cool down.
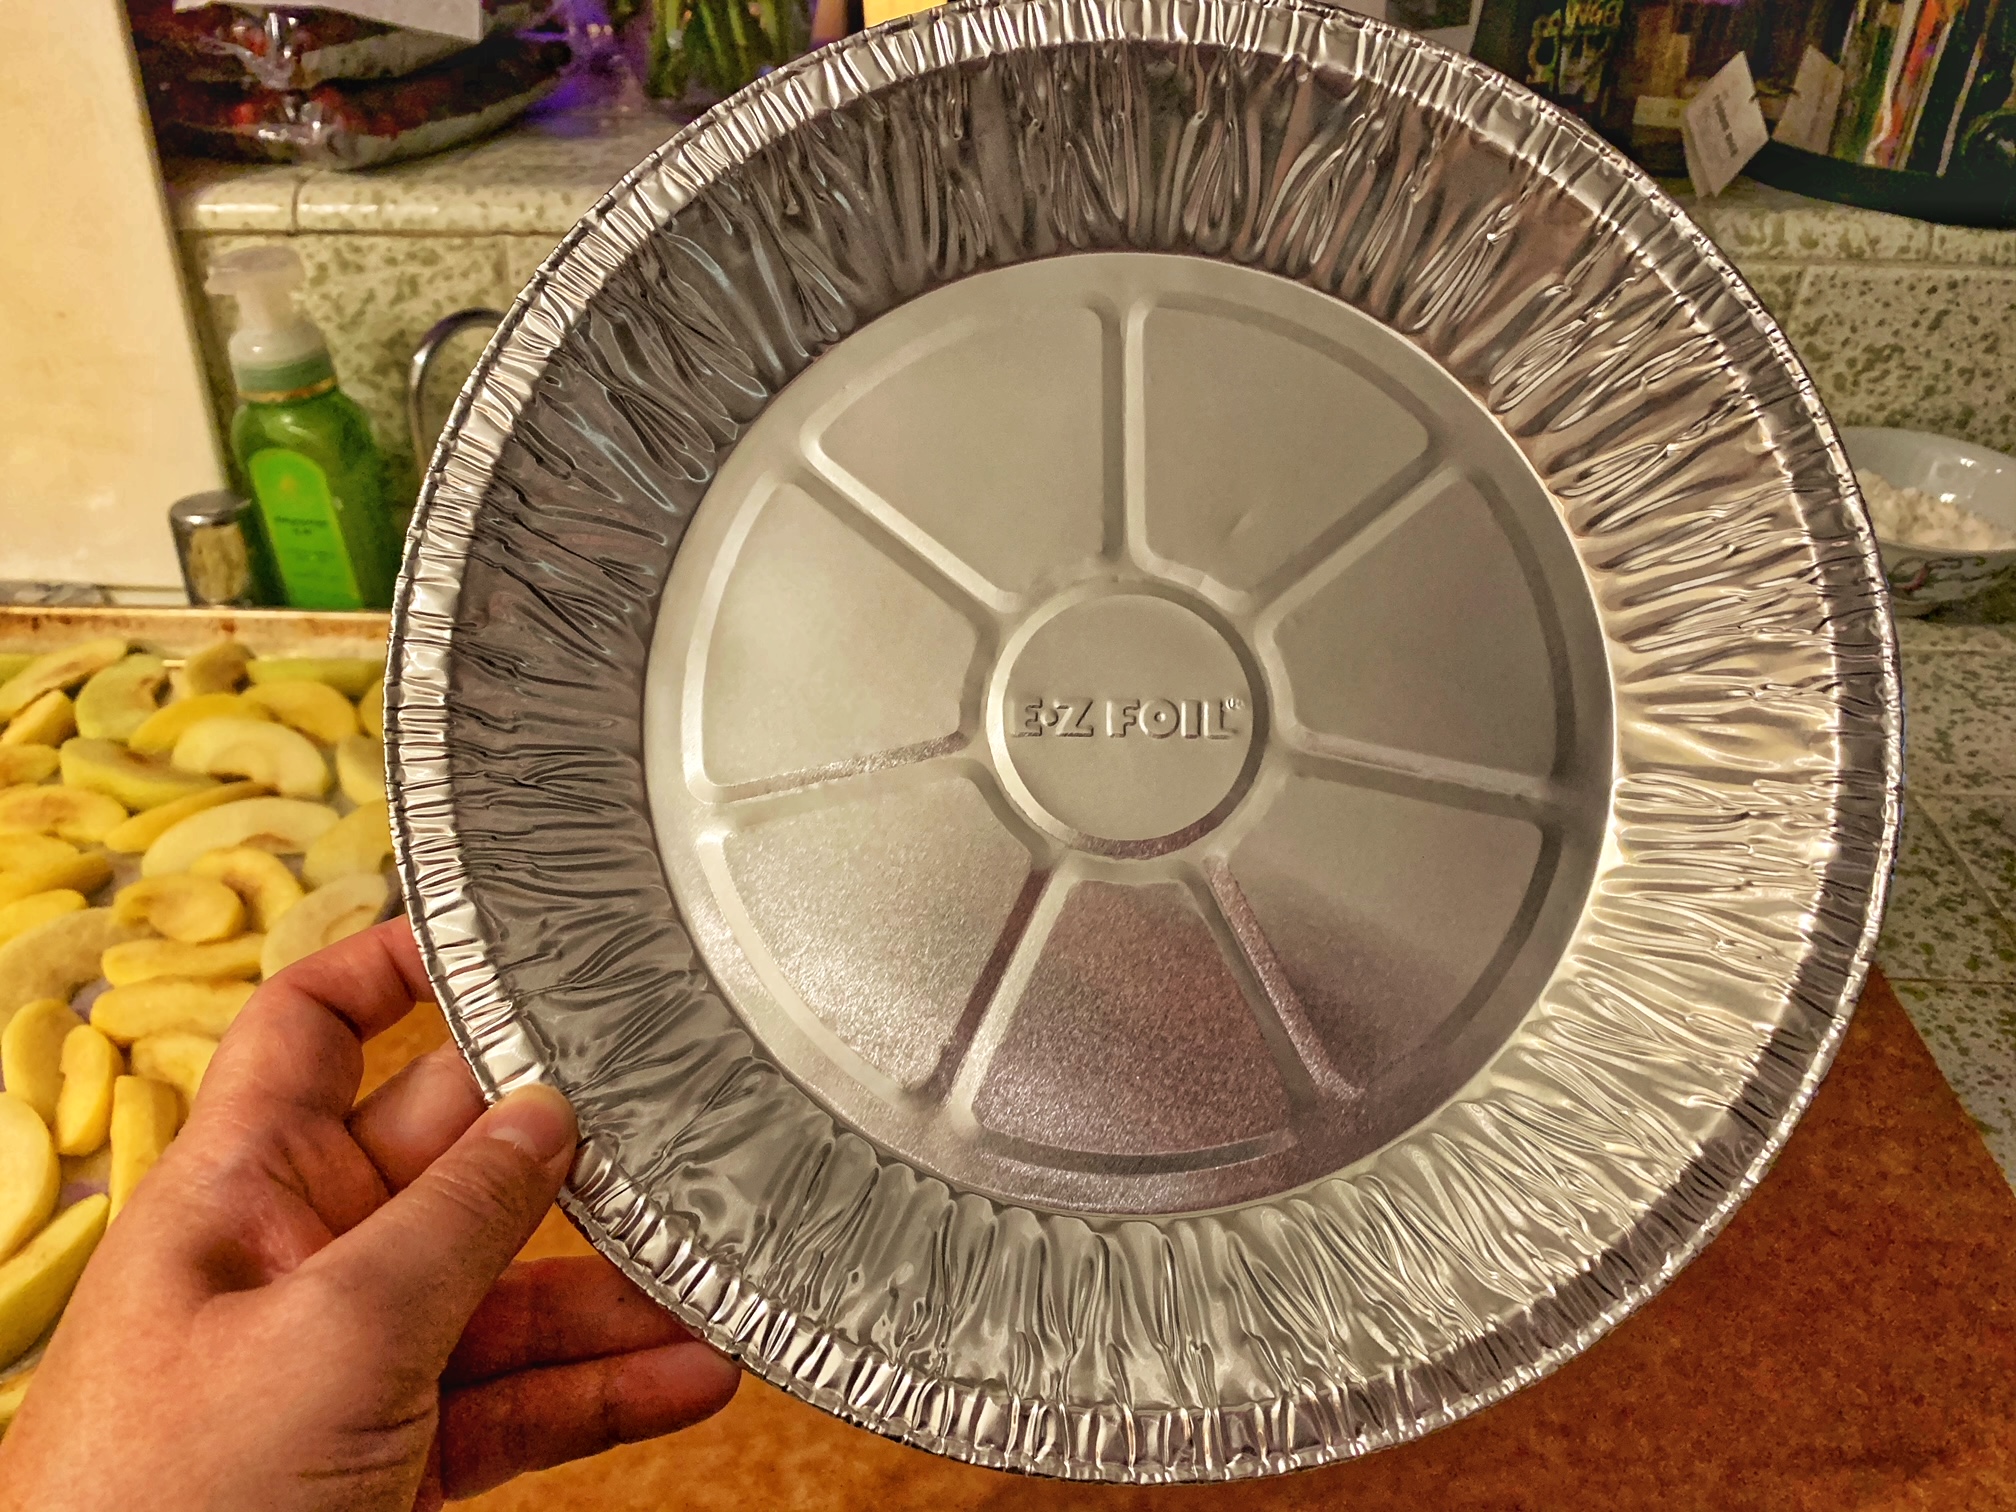
- Roll out the bottom pie crust and lay over the pie plate. I’m using disposable foil pie pan this time because I’ve seen two different websites saying that glass pie plate is best and ceramic pie plate is the worst. I only have ceramic pie plate so I figured I’d try the disposable foil pie pan as those two websites also said foil is still better than ceramic. And we all know that the interwebs are always correct, right?
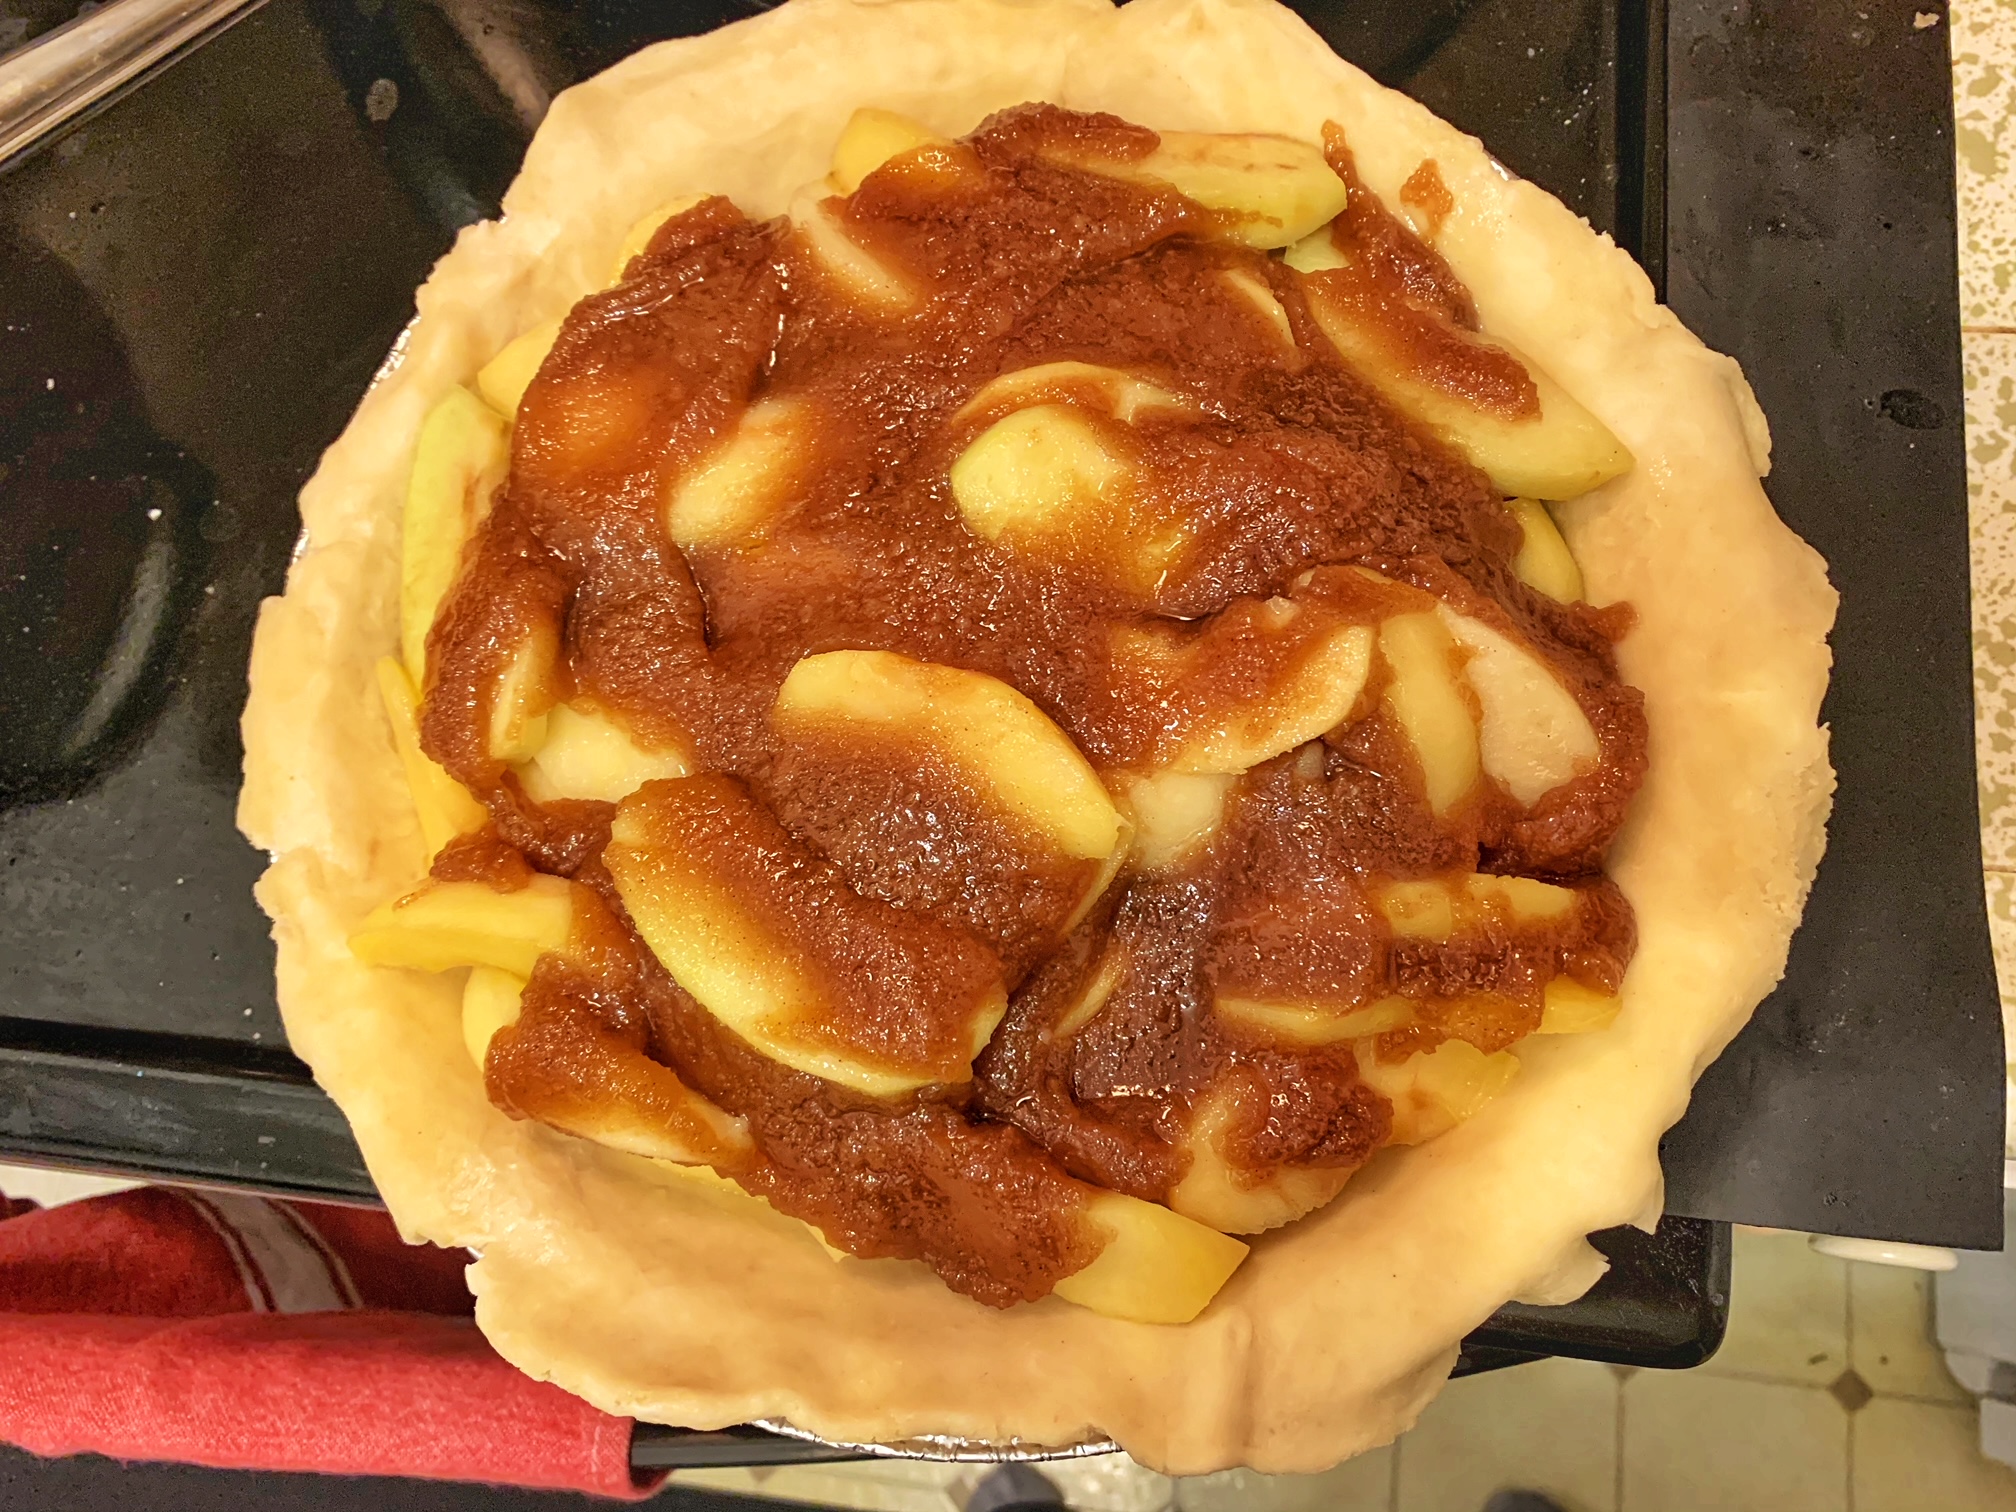
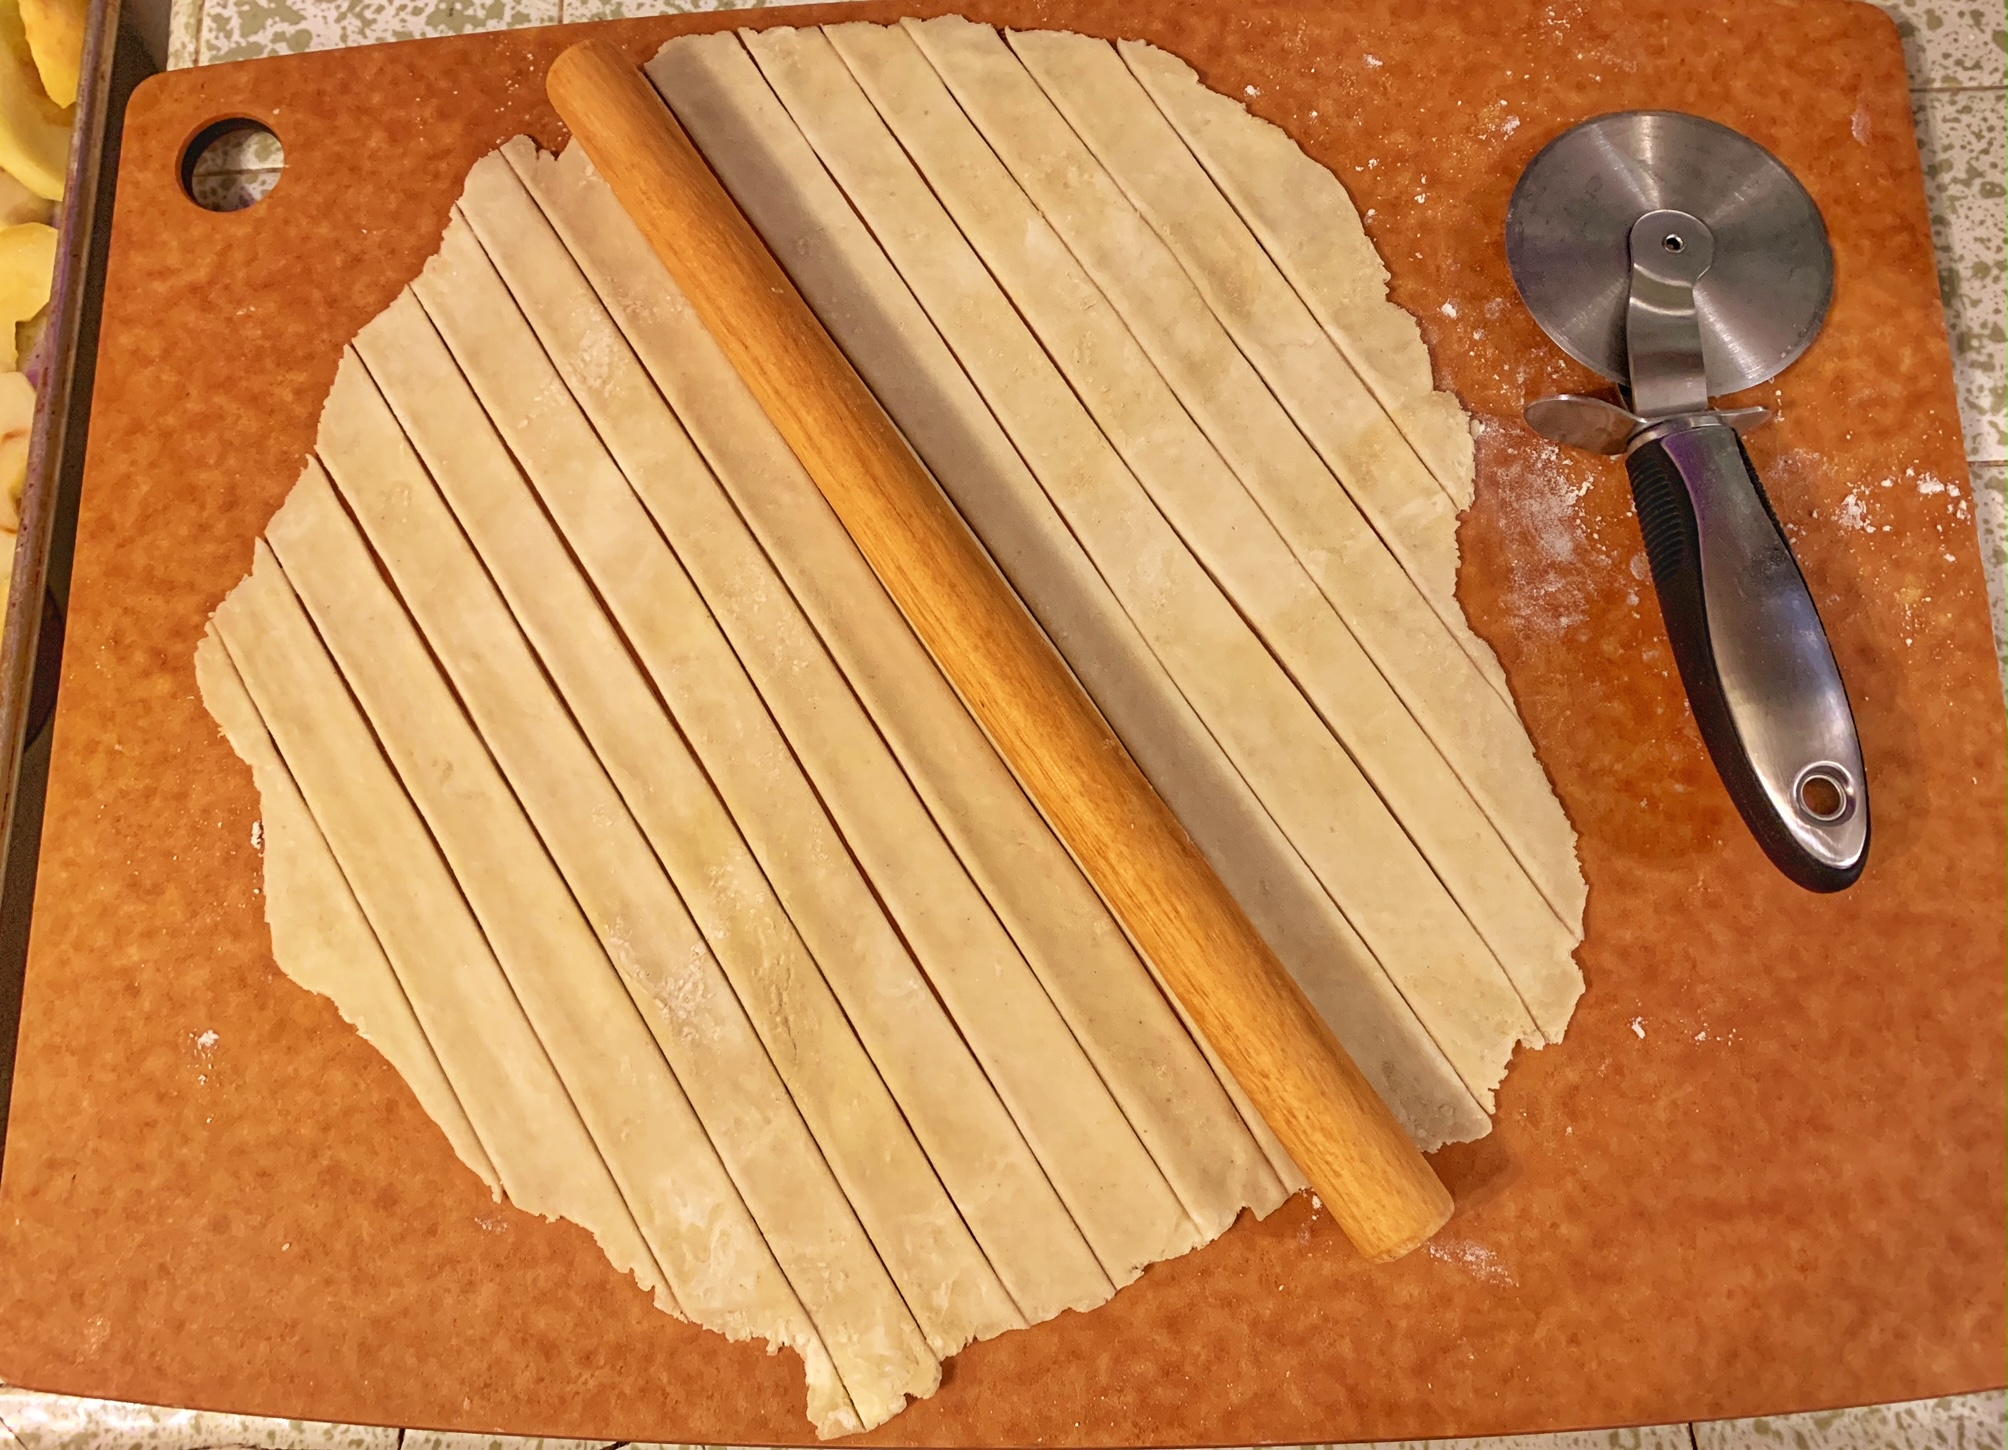
- Lay the cooled apple slices into the pie and then pour the cooled sugar mixture on top. The sugar mixture is going to be pretty thicc so instead of pouring, you might find yourself spooning. That’s fine just as long as you make sure they’re pretty evenly distributed throughout the apple slices. Roll out the top crust and lay it on top of the apples in a lattice pattern. You don’t have to do a lattice pattern if you prefer not to, but this pie needs to have holes on top to let out steam. I think we all agree here that even with other people, sometimes we need to let out steam through a few holes.
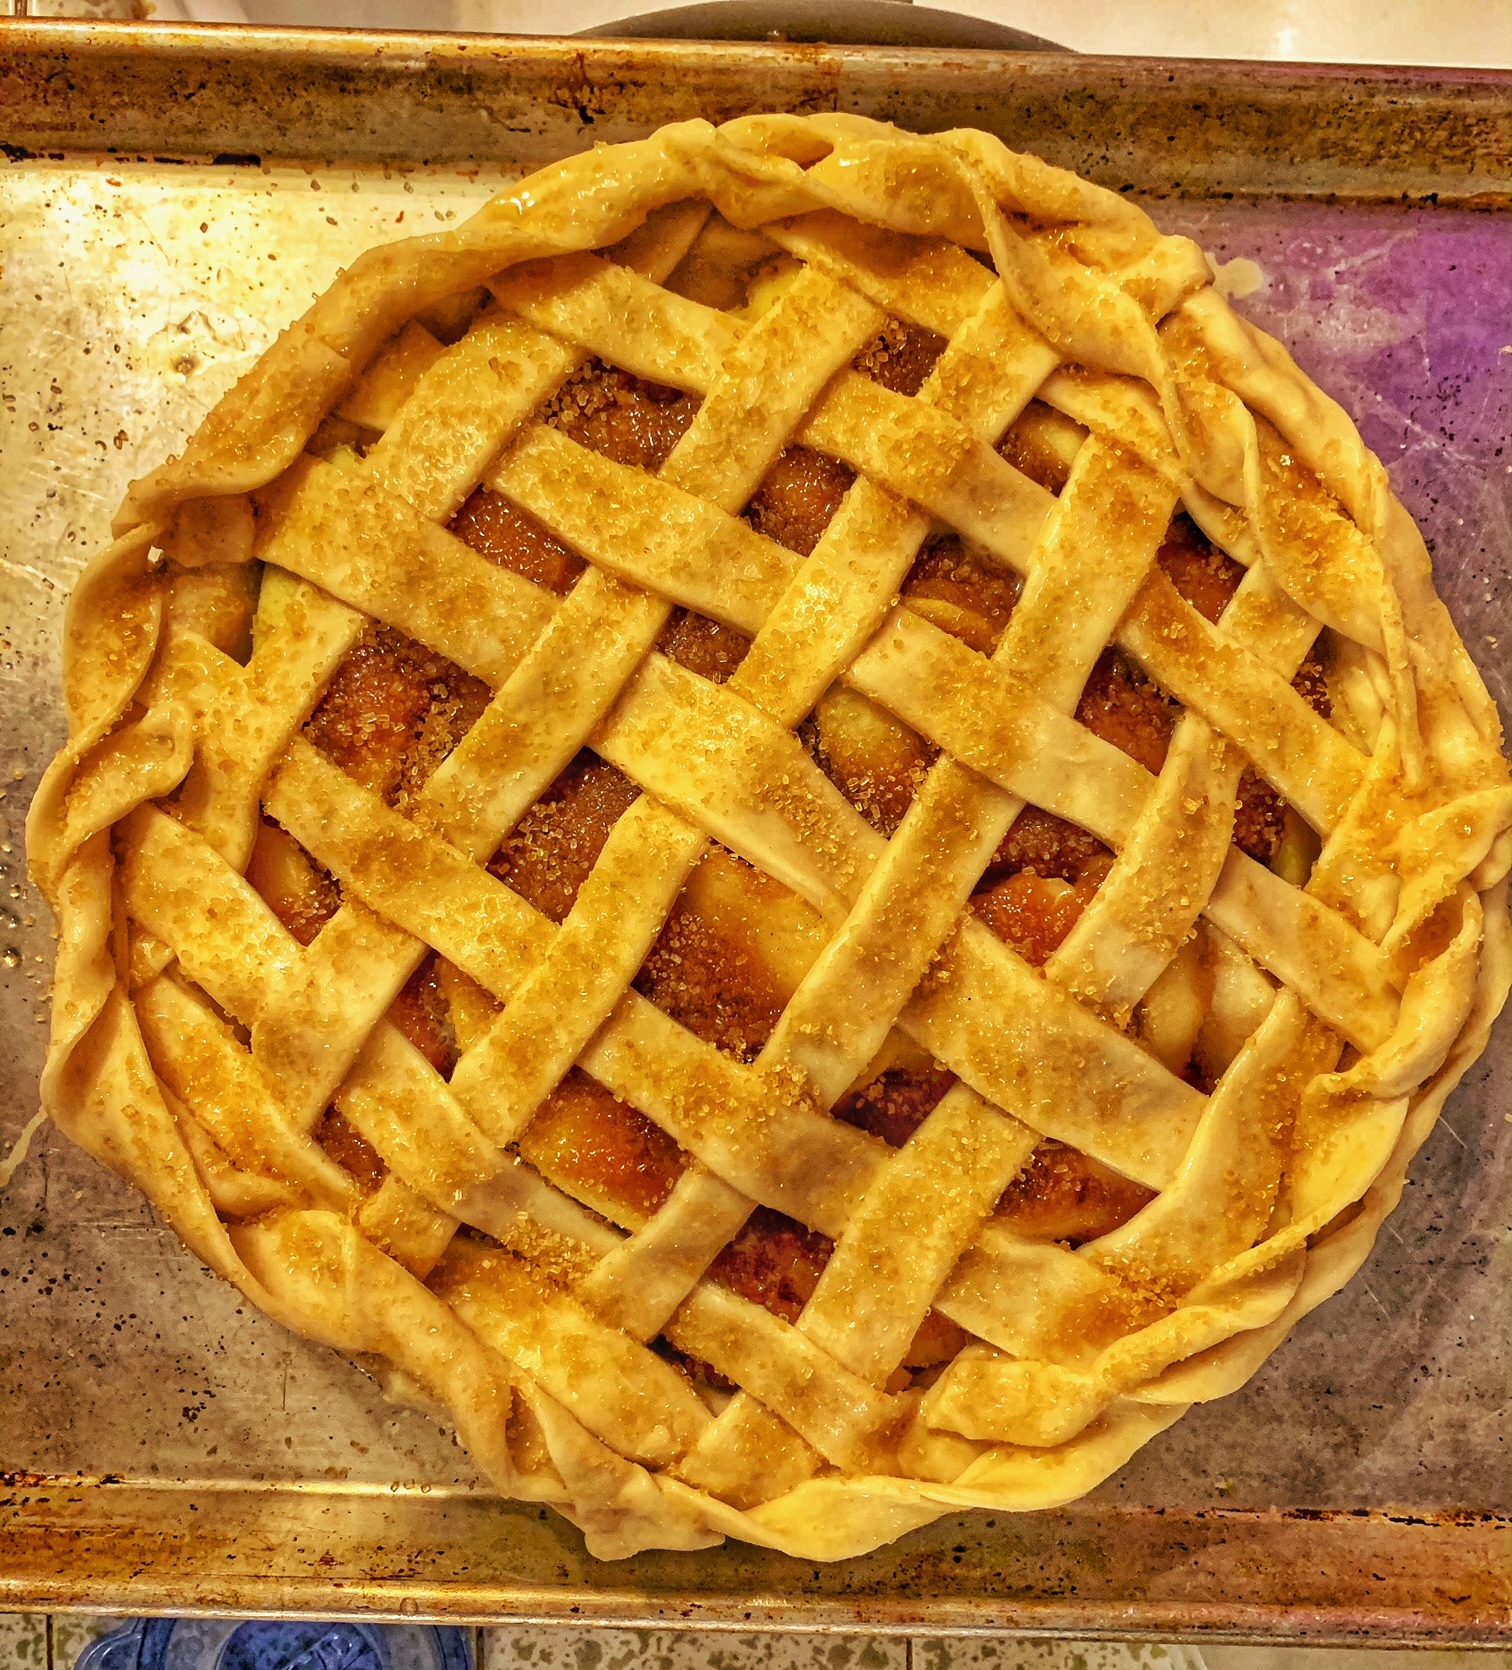
- Put the entire unbaked pie in the freezer. No, that is not a mistake. This step is to make sure the crust doesn’t shrink when you put it in the hot oven. Preheat the oven to 425°F, which should take about 10-15 minutes. Once the oven is properly pre-heated, put the pie on a sheet pan and then brush the top with egg wash. Sprinkle sugar over the top. I use this fancy muscovado sugar and this is the secret to making your baked goods look like they come out of a bakery. If you don’t have muscovado sugar, you can also use regular white sugar. You’ll get a softer crunch but just as tasty.
- Put the pie in the oven. Make sure to keep the sheet pan because that will catch any juices that may run over. Bake at 425°F for 15 minutes, and then lower the heat to 350°F and continue to bake for another 35-40 minutes until the top is golden brown.